Home | Do-It-Yourself

Category Archives: Do-It-Yourself

Feed Subscription

Keeping Tropical Fish in Outside Ponds for the Summer

Eureka red kept in pond Hey there!  This week I wanted to talk about something a little different than my usual cichlid blog. I wanted to share some tips on how you can develop spectacular color on tropical fish in a way you may have never considered.

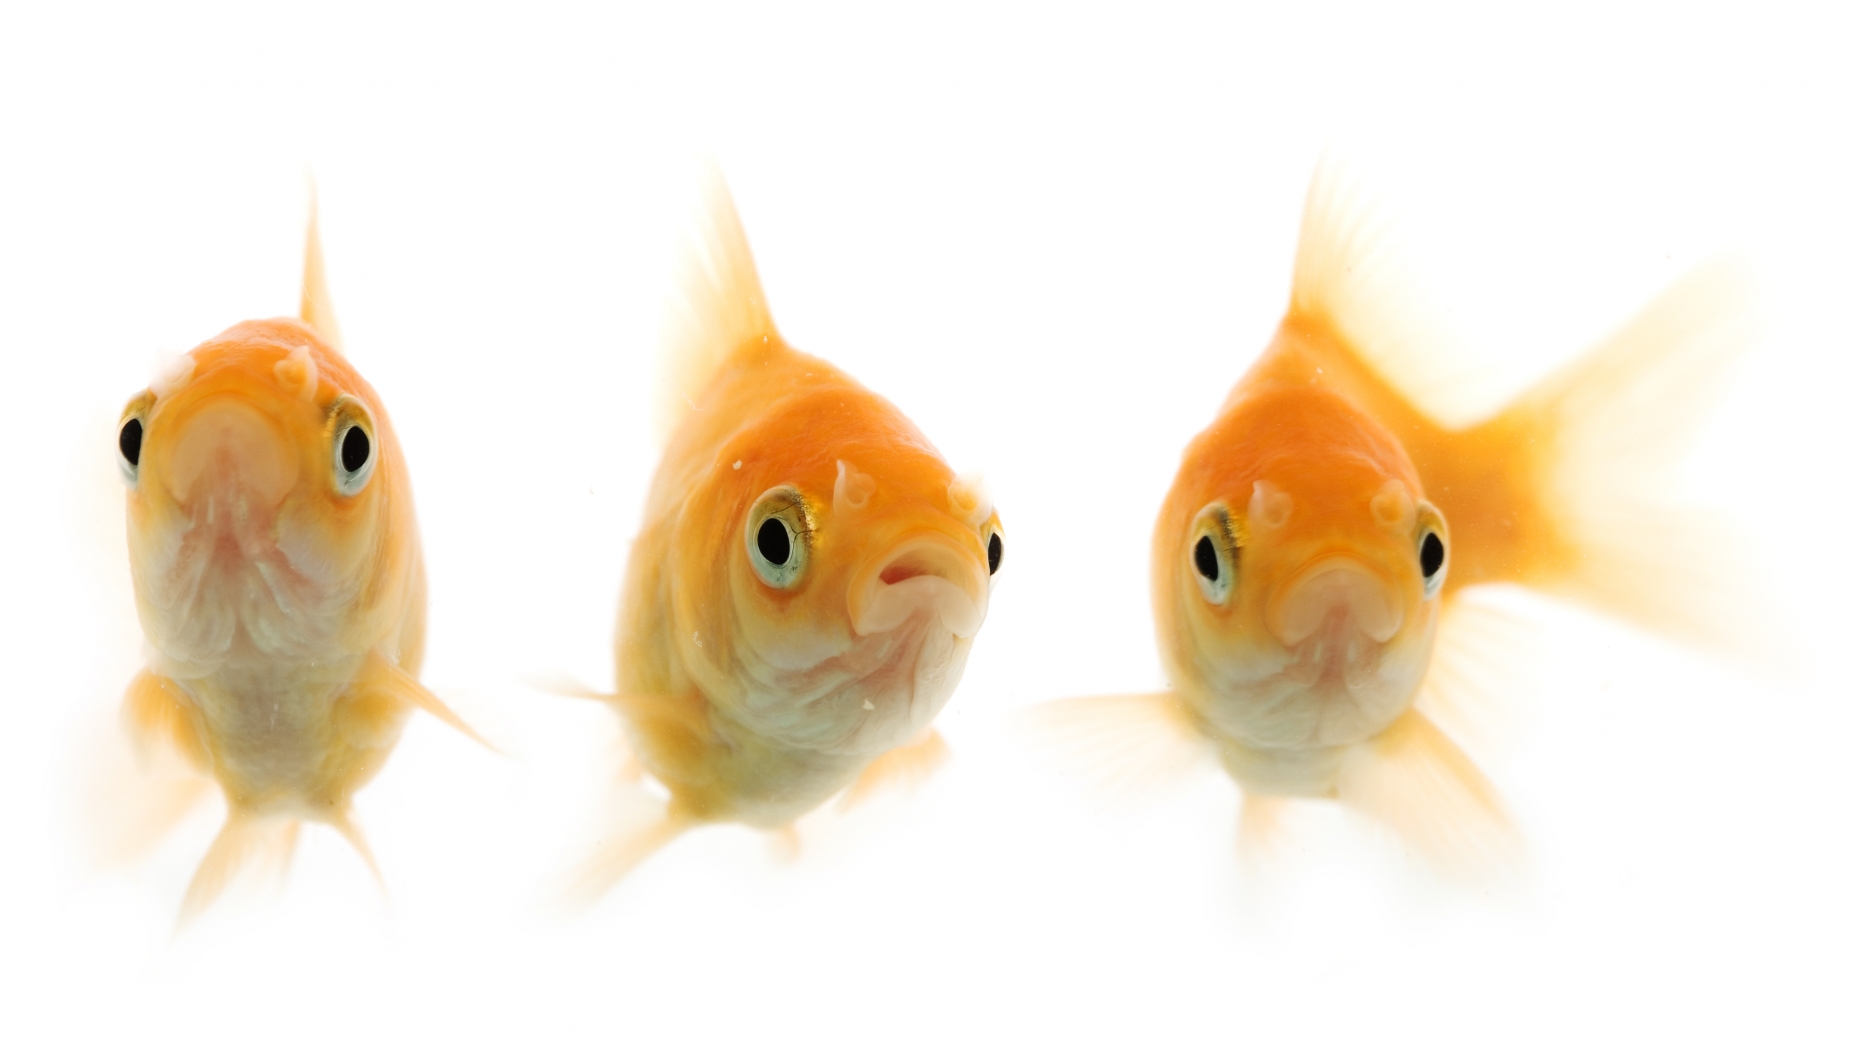
A few years ago, we moved into a house that had a small pond in the front yard. It was one of those rigid, preformed round ponds about 15 inches deep with a  50 to 80 gallon capacity. We kept a few goldfish in there the first year. They grew and made it through the winter just fine as we expected.

The following Spring, I got hold of some Astatotilapia aneocolor from Lake Victoria, 2 males 3 females to be exact. I was told by the previous keeper that they were aggressive, so I put them in a 55 gallon. I figured that would be plenty of space, since they were only 2.5 inch fish, and that they would leave each other alone for the time being.

Boy, was I wrong. One of the males showed his dominance within 2 hours of being added to the tank, and no matter what I did he couldn’t be swayed. I moved decorations around, gave him a time out for a week in a net breeder, and  I even put him into an aquarium with four 3 inch Black Belt Cichlids hoping he would be intimidated into submission. He went nuts in that tank, too, and started beating up the Black Belts, so back into the original tank he went. He quickly went back to his old ways, dominating and terrorizing the other male. He finally ripped out male no. 2’s right eye.

The Great Outdoors

I wasn’t sure what I could do for him. Then it occurred to me that I did have another place for him to go. The temps were high enough outside, so why not? I decided to relocate One Eye to the pond outside to give him a chance to recover. I watched to make sure that the other fish (goldfish) didn’t bother him and they didn’t. In fact, by the end of the week ol’ One Eye was the sole proprietor of the pond.

For the next few weeks, he ate well and still came up to the surface to see who was around the pond when I went to feed. I only had a little internal filter system on the pond, and soon the water started turning green. Before long I could barely see One Eye to see his condition, but i knew he was still alive and growing, possibly even larger than the bully inside. He was eating well, besides my offerings he ate insects that fell into the pond, and I also noticed he was scraping algae off the sides.

Meanwhile the dominant male in the 55 was attaining his astounding breeding colors. He was red on top half of his body and yellow on the bottom half with black fins.

The nights started to get into the mid 60’s, so it was time to bring in ol’ One Eye. When I netted him out I was shocked to see that he was an inch and a half larger than my dominant male and his colors were unbelievable! He had a deep maroon upper half and the bottom half was gold…I kid you not. I mean it was so vibrant that I couldn’t help but wonder what would happen to other fish from my collection if they had the same conditions. The following Spring, I upgraded the filter setup to an internal mag drive pump pushing into a Fluval 403 canister filter with the return line feeding a waterfall. I started keeping Albino Eureka Red Peacocks outside in that pond after the upgrade. You can see the results in my photo (top photo, sorry it’s a little blurry).

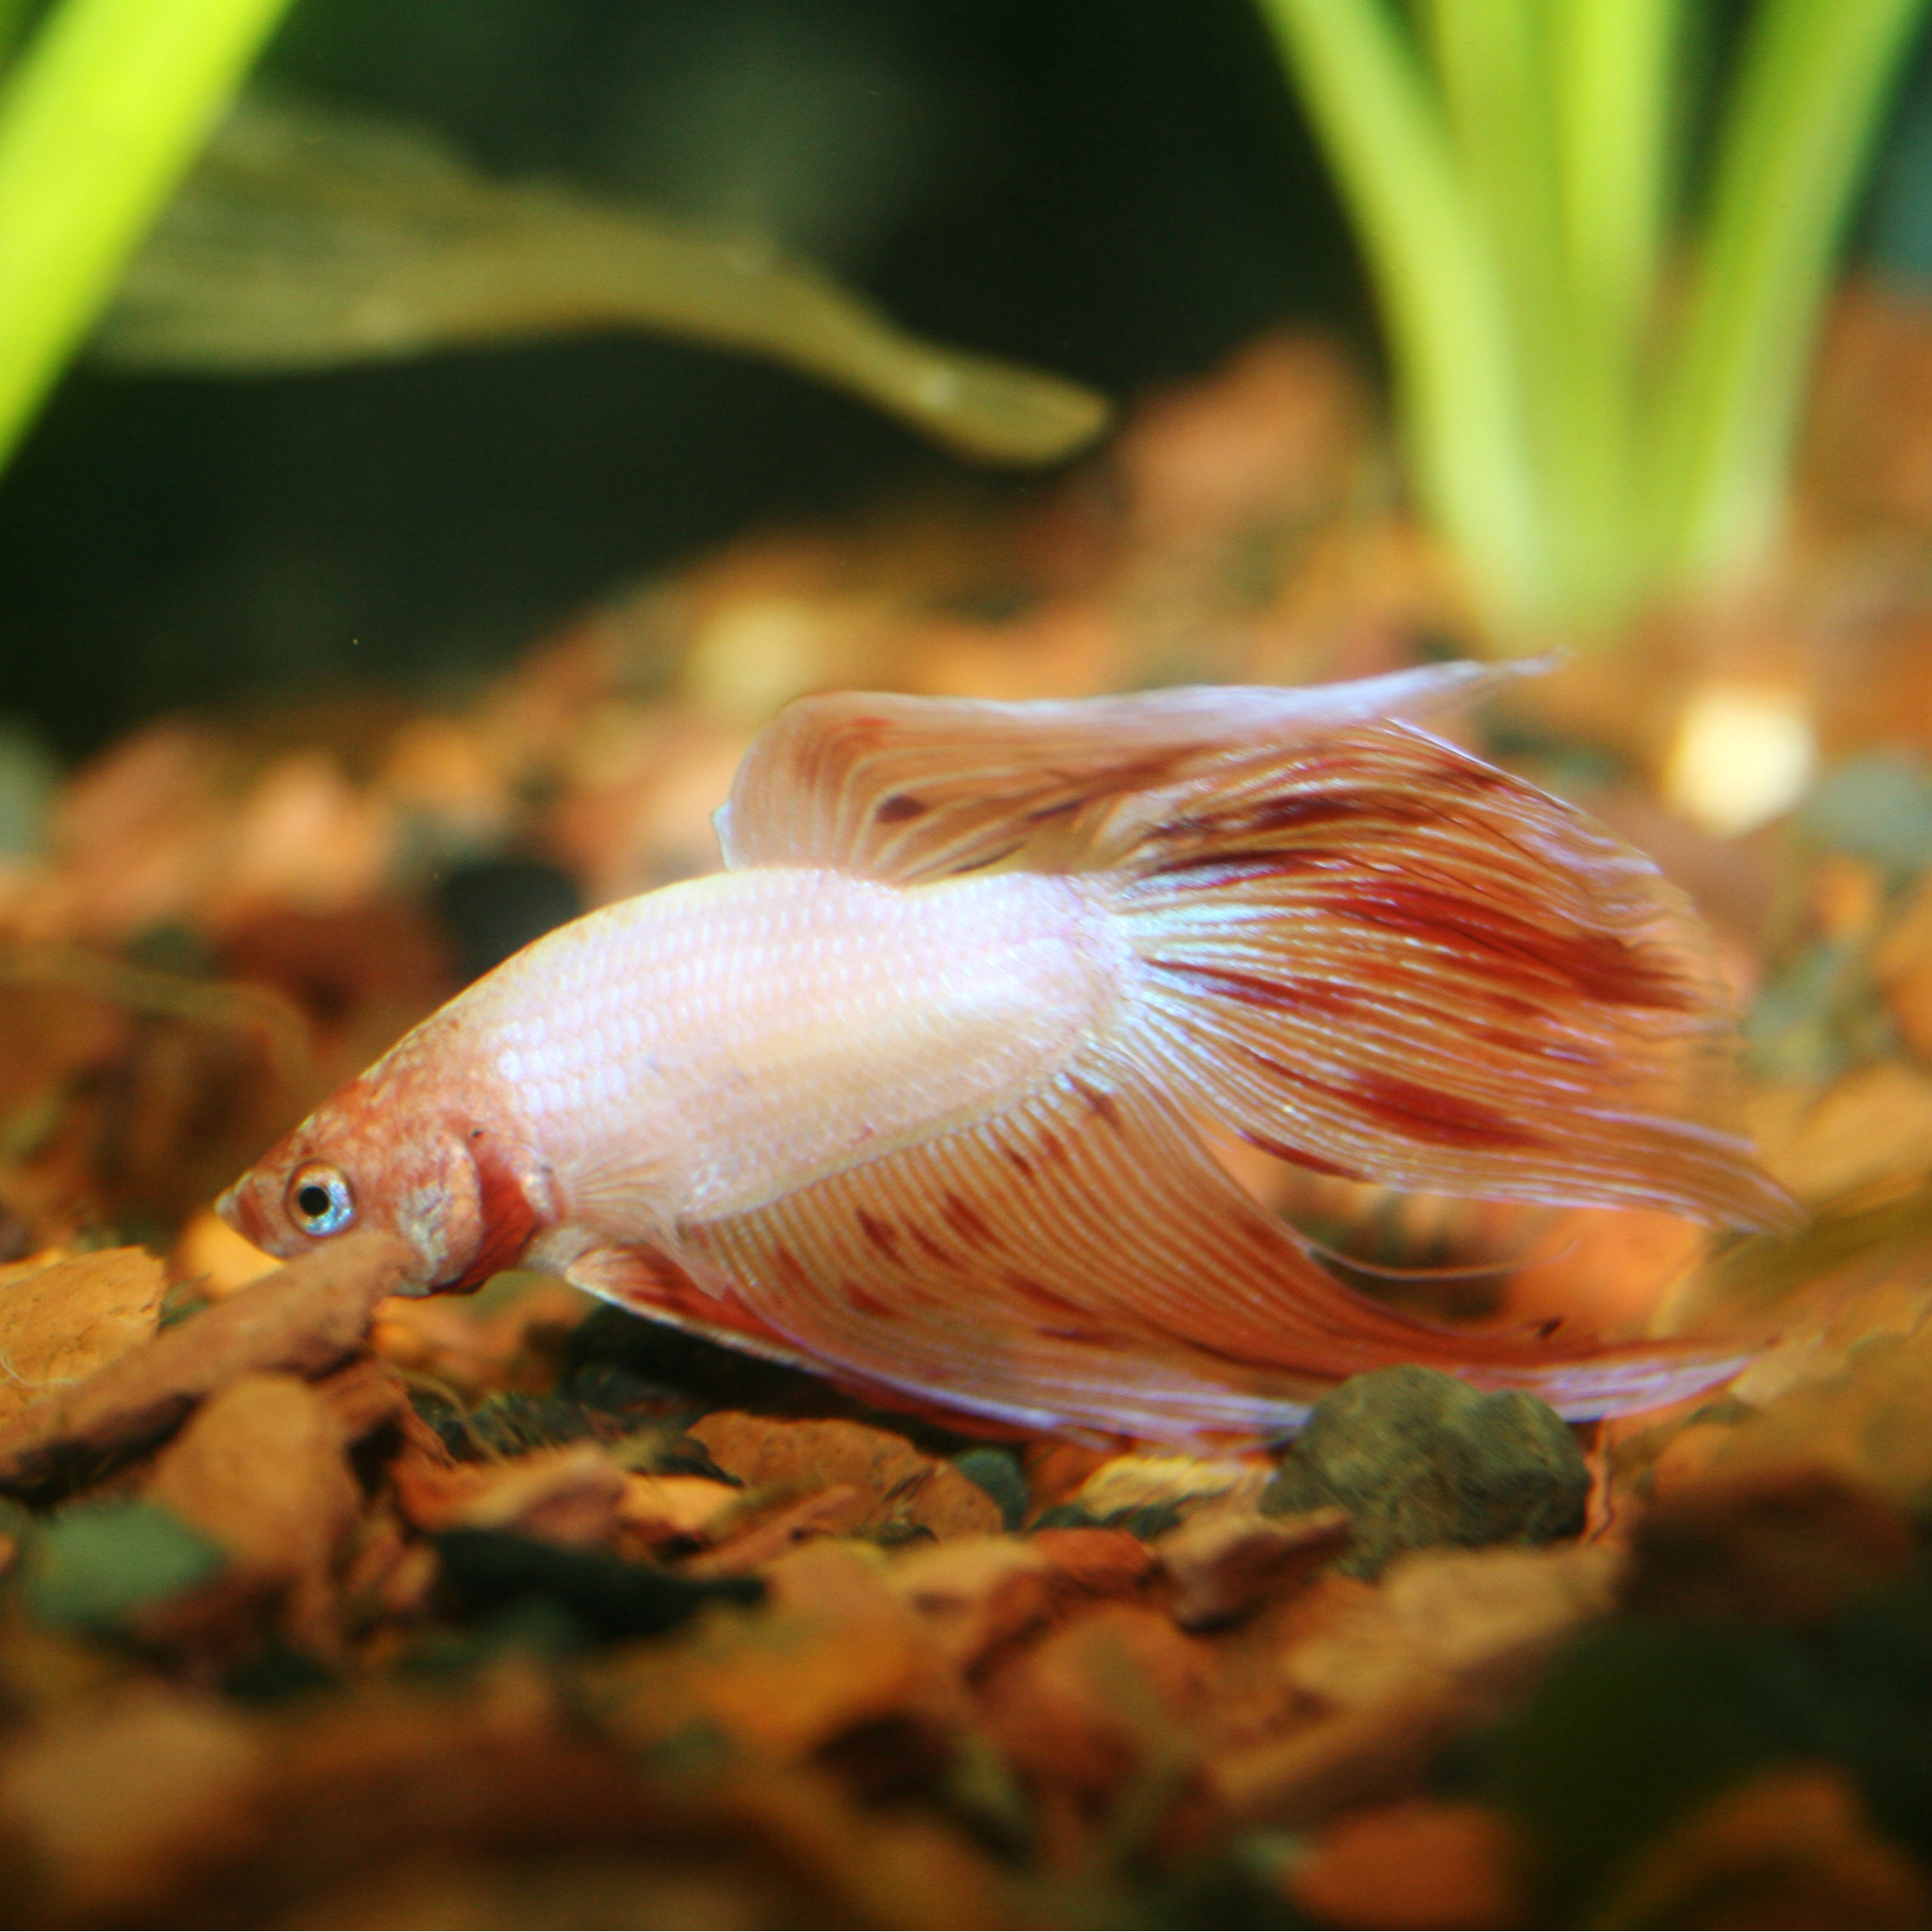
There is no match for the magic of natural sunlight and the varied diet tropicals can get outside. A friend of mine kept Red Terrors outside, where they bred for him through the season. Summer vacation outside isn’t just for cichlids, it can also be done with platies, swordtails, guppies and pretty much anything tropical if you have a place for them. Even small patio ponds could be populated with livebearers or tetras. Imagine a school of Cardinal Tetras soaking up those sun rays! Any pond will do as long as it doesn’t get too hot or too cold, and as long the fish have a little cover to protect them from would be predators like herons.

It’s a Jungle Out There

While the benefits are great, there are also some cautions to consider. This time I’d like to talk about some of the dangers and pests that may wreak havoc on our poor little fishies.

I was lucky not to have my pond visited by pests, but local stray cats, opossums, raccoons, snakes or predatory birds that may decide to visit your pond at any time.  Even bugs like dragonfly nymphs can prey on young and small fish. Ample water movement and surface ripples are usually enough to deter them, but more effort may be needed to deter larger predators. There are some easy ways that you can help to protect your fish while they enjoy their outdoor summer vacation. Personally, I would recommend the live plants. You can use floating foliage like water lilies, duck weed or hyacinths for cover and protection for your fish. Young fish will also hide in the roots and feed on the small bugs that live in the roots. Another solution is the use of pond netting. The netting can prevent many predators from snatching your fish out of the water. Not very aesthetic, but effective.

Pesticides and other contaminants may pose a hazard in an outdoor environment. Toxins can be washed into a pond during heavy downpours or may be blown into the Green Heron
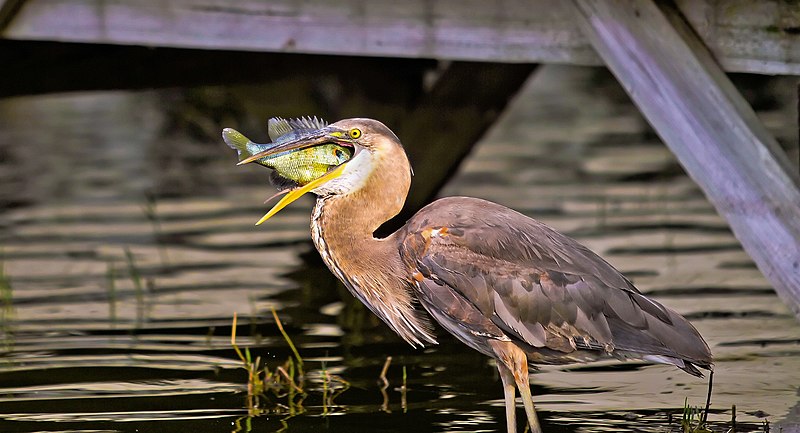
water.  The rish is small as long as you stay aware when applying such products…something to keep in mind. Even the rain itself can be a danger to your fish. Acidic rain can drive your ph to low levels if you have a low kh. Depending on the species you’re keeping, such fluctuations can wipe fish out quickly.  I was able to keep the kh high and the ph stable with weekly buffered water changes so thi swas never a problem in my experiences.

Closing Time

Cool temps are the other concern. It’s important to know when to bring them in. For me, when night temperatures start dipping below 75 F, I know it’s time to bring them back to the tank. You may notice the fish becoming lethargic, and some may even die if you don’t pay close attention at the end of summer. I recommend acclimating them slowly back to indoor temperatures. If the filter running the pond is a canister filter, I would recommend keeping it running on the main tank. Clean it out before bringing it inside, but you’ll be supplying an established filter/biological for your indoor tank, and you don’t have to wait for the whole cycling process. We drain the pond each year and look for babies. You can then either store it till the following year or couple of set it back up in the house for the winter.

I hope this inspires someone else to try some tropicals outside. You wont regret it. Let me know if you have any questions, I’ll be happy to help you out.

Until next time,

Jose

More Decoration DIY: Materials and Aquarium Suitability

The first two installations of our DIY blog series – “Adding a Personal Touch to You Aquarium Decor” and “Aquarium Decoration Ideas – Fish Bowl Designs & DIY” – seem to have gotten your creative juices flowing so we’re back with another entry. The most frequent questions we’ve gotten since then have been about the materials that you are looking to put into your aquarium so we’re going to break down some of the most popular materials that you’ve all asked us about. Remember, these are just some basic guidelines and you may need to test the piece you’re trying to use.


Adhesives

  • Choosing the right glue or adhesive for your purpose can make or break a project.

    Choosing the right glue or adhesive for your purpose can make or break a project.

    Cyanoacrylate Glue (“Reef Glue”, “Krazy Glue”, “Super Glue”) – These glues are some of the most common, especially among aquarists and reef hobbyists. They are effective with many different types of materials and are very strong, particularly when bonding plastic materials. They work well with reattaching coral frags that may have dislodged or fixing ornaments and they cure quickly. Most of them tend to turn milky-white if they are put into the water while the glue is still wet but they are otherwise safe for lots of applications.

  •  Silicone Sealant – Silicone sealants are usually used to fix the seams of an aquarium but they can also be used in assembling ornaments and pieces within the aquarium. It is usually available in black or “clear” (usually more milky blue-white, in my experience) and can be thicker that cyanoacrylate glue, but it is durable and more flexible once cured. Be sure to read the directions to make it easier to use and cure it fully before using it in your aquarium.
  • Epoxy – Epoxy is a two-part adhesive that needs to be mixed together to activate. Underwater epoxies usually look like a putty with an outer coating over a contrasting center and are commonly found in white or a coralline-algae-colored purple. These epoxies are more cement-like than other adhesives and are good for creating rockwork formations but not as effective for surfaces that need a thinner, more transparent adhesive. Avoid using epoxies that aren’t designed for underwater use or with toxic materials, especially before the epoxy has fully cured.
  • Hot Glue Guns – Hot glue guns are arts-and-crafts staples but are also surprisingly effective in aquariums, most especially in freshwater tanks. For quick fixes like re-attaching an artificial plant that may have become detached from a base, they are the easiest to use and are non-toxic and ready to use soon after applying. Make sure the pieces are completely dry and clean and avoid using this glue in higher-temperature tanks.
  • Water-soluble glues – For obvious reasons, never use water-soluble glues like white craft glue in aquariums. They will never cure and will affect the water quality.


Paint

nailpolish

Nail polish is an easy and inexpensive solution for touch-ups and quick fixes.

  • Clear-coats – Clear-coat paints and “sealers” were some of the most popular materials in the questions we’ve received. We’ve received many questions on what kind of clear sealers an aquarists can use to cover an unsafe material and make it suitable for use in a tank. There are clear spraypaints and other paints that can be used to coat an ornament or other piece but none of these can guarantee safety. The smallest crack or opening in clearcoat can allow water in and to the surface underneath. Once the water has started to get in, it will continue to soak in and get below the clearcoat. None of these clearcoats can prevent metal from corroding or minerals from dissolving. If something isn’t safe for your tank to begin with, a clearcoat isn’t going to make it safe. Clearcoats are available in enamel or acrylic just like the paints we’ll discuss next…
  • Enamel – In my opinion, enamel paints are some of the most durable for underwater use once they are cured. Small jars can be found in many different colors in craft and hobby stores with the model-building supplies. Even most nail polishes are enamel; we’ve used nail polish to create numbered frag plugs in our retail store for years. Clear nail polish can be used for quick touchups as well. Enamel spray paints are good for quick coverage for ornaments or for backgrounds on the outside of tanks. For any form of enamel paint, make sure it is fully dried and cured before using it in your tank; “dry to the touch” does not necessarily mean it is cured. If the directions on the paint say to allow it to cure for several days, follow those instructions.
  •  Acrylic – Acrylic paint is a water-soluble paint but can be fairly water-resistant once it is cured. These paints have some mixed results among hobbyists. I prefer to keep acrylic out of the tank itself; acrylic spraypaints can be effective backgrounds on the tank but may not hold up as well in the tank and constantly underwater. The most popular of the “acrylic” paints for use in aquariums is Krylon Fusion paints. These paints are usually described as “acrylic alkyd enamels” and they share characteristics of enamels and acrylics. Many aquarists use these paints with good results, especially over plastics, but they are less effective on glass surfaces where many aquarists see the paint peeling or flaking off.


Decorations

Aquarium decorations are where you can really let your creative juices start flowing! From fishing lures and hockey pucks to Eiffel Towers and zombies, we’ve gotten lots of questions about new pieces you all have been considering for your aquariums. While I obviously cant cover every single object here, here are a few of the most common materials we’ve been seeing you consider and how suitable (or otherwise) they may be for your aquarium.

    • Metal – Avoid it. Sure, you can try covering it up to protect it from the water, but as we’ve discussed, any small moisture seeping to the metal can start affecting your tank. At best, it will likely have some surface corrosion. At worst, it can leach very harmful chemicals into your water and even conduct electricity. To be safe, look elsewhere for a decoration if the object you are considering is made from or has any pieces of any type of metal.
      Coral skeletons may be fine in some tanks but can affect the water quality in others.

      Coral skeletons may be fine in some tanks but can affect the water quality in others.

    •  Natural/organic material – Use caution. This is a definite grey area. Some materials may be safe for some types of systems but others will decompose or severely affect the water quality by changing the pH or hardness. Also, where you are getting these things from can have a serious impact. Avoid using anything that you may have scavenged from nature (the beach, the forest, etc) since anything that the piece has come into contact with will go into your tank, including possibly harmful chemicals like pesticides. As a rule of thumb, it is also best to avoid putting anything natural into a very different environment than where it came from. For example, adding marine shells or corals to a freshwater tank isn’t safe and wood from the forest won’t usually hold up underwater.
    •  Rocks/Minerals – This depending entirely on what rock or mineral you are considering. Some are safe, others will affect the water quality. You can try keeping the piece you are considering in a container of your tankwater for at least a few days and monitor the water chemistry to make sure everything is remaining stable. Most rocks that affect water quality contain calcium carbonate which will dissolve at a low pH, causing the hardness to rise and pH to then increase. These rocks are usually from the ocean in origin. If you suspect this, you can try sprinkling a few drops of vinegar on your rock. If it has calcium carbonate, you’ll see it start to fizz up and dissolve. You would NOT want to addthis rock to a freshwater tank where the pH will be below around 8.0.
    •  Glass – Plain glass is fine in an aquarium. Colored glass is usually safe too, as long as it is the glass itself that is colored. The risky part comes with glass that is painted or glazed. When constantly submerged, this coloring can start coming off or be very easy to scrape off and may be harmful to the livestock at that point. Most clear-coats like we discussed above don’t bond very well with glass and may not be enough to make the piece safe for the tank. Use caution with any colored pieces and test, test, test before adding it to a tank with livestock! Most plain, clear glass is safe though and can you can make some very interesting betta bowls from fun vases and glass containers found at craft stores!
Glass is durable and lasts hundreds of years underwater so it is usually suitable as an aquarium decoration.

Glass is durable and lasts hundreds of years underwater so it is usually suitable as an aquarium decoration.

  •  Dishware and Pottery (mugs, plates, bowls, etc) – These pieces are usually safe. As a general rule of thumb, if the mog/bowl/plate/etc is dishwasher-safe, it is probably aquarium-safe. A mug with a company logo can make a great aquarium decoration in your lobby, and simple plates and bowls can make good ledges and caves (especially in a pinch). If the piece ever actually has been in a dishwasher or in dish soap, make sure it is well-rinsed and clean of any soap or food residue before adding it to an aquarium. The same rules go for pottery as well. Some unglazed pottery like terracotta pots can be safe in an aquarium and make for good breeding caves, but if they’ve housed a plant at any time, they could have absorbed fertilizers or other chemicals. If this is the case, it would be best to use a clean, new pot than repurposing one. Some decorative glazes may also not be durable enough to handle aquarium conditions. When in doubt, leave it out!
  •  Plastic and Rubber – In general, safe!! Plain colored plastics are inert and can make excellent decorations! Toys like Lego building blocks can be great, customizable centerpieces to a tank but only use
    Silhouette-Tank

    Dishware like mugs can be excellent personal touches for most aquariums, and a good way to get your company’s logo in the tank!

    pieces free from decals and decorations that may soften and break up underwater. The same goes for hard rubber. The hockey fan in me is dying to set up a tank with a hockey puck pyramid and hockey puck archways…but again, just use plain pieces without decals or decorations.

  •  Polyresin – A number of questions that we received about possible ornaments were for figurines made from polyresin. Polyresin is, in itself, inert and safe for most tanks. The paint and embellishment used on it may not be. You can experiment with water identical to your tank conditions or try contacting the manufacturer of the piece to see if they can give you some more information. But, once again, when in doubt, leave it out!
  •  Stickers or decals – When decorating your tank, don’t be afraid to use all of the surfaces available to you! Throughout these decoartion ideas, I’ve said to avoid using anything with decals or decorations and this is true….underwater. Don’t be afraid to use vinyl cutouts, stickers, window clings or other stick-ons on the outside of the tank. You can add dimension to the decor by using the front, background or sides for images that you can’t get on the pieces inside the tank.

 
I hope this helps you clear up some DIY confusion and gives you some more ideas of pieces that you can (and can’t) use to decorate your aquarium. If you’ve come up with your own creative DIY aquarium ornament, we’d love to see it!

Aquatic Science Fair Projects for Aquarium Lovers

With the new school year getting underway, it’ll only be a matter of time before the first science fairs and lab experiments start up. We get lots of students visiting or contacting us in search of ideas and test subjects for project ranging from the simple to the complex so I thought I’d share some tips and some of our favorite ideas for easy (and affordable) aquatic science fair projects for students of all levels.

chalkpieces

Before you begin…

Before you start any experiment or project involving live plants or animals, it is important to make sure you are prepared for the maintenance, care and cost of the experiment and livestock they are taking on. We’ve had many students that have a great idea for a project involving crabs, jellyfish, “Nemo” clownfish or other animals but don’t realize how much work and supplies are going to be needed to keep these animals healthy. They are also a commitment after the experiment is done; fish aren’t disposable and you have to be ready for them to go from Test Subject to Pet at the end of the project. Some experiments also require multiple subject that each need their own setup and supplies.


Time is another important factor to consider with these projects. Many experiments involving fish and plants are going to take some time before you will really start to see results like growth or changes to color or behavior. It can take at least a few weeks to reach any conclusions so if this is a last-minute project, you might be better off heading in another direction.

stockxpertcom_id3114171_size2
What do you want to know?

The hypothesis of an experiment is the question you are trying to answer or what you are trying to prove or study. Depending on your grade level, this might be observing an environment or behavior or it might be testing a number of variables against a control. If one of the ideas here intrigues you but you aren’t sure where to go with it, ask your teacher or let us know and we might be able to help point you in a direction.


The project ideas here are mainly freshwater. Saltwater science fair projects are definitely possible, but they are going to be more difficult and expensive. Saltwater aquariums have a lot more factors than freshwater and need more equipment and maintenance to keep them healthy. If you already have a saltwater aquarium, you may be able to adapt one of these ideas to it or come up with your own but it may be easier to stick with a freshwater experiment if you don’t already have some saltwater experience.

Some Aquatic Science Project Ideas

Bettas and Aquatic Science Fair Projects

A male Veiltail Betta

The Betta (“Siamese Fighting Fish”) as a test subject

  • Betta splendens, also known as the Siamese Fighting Fish, is a good fish to use in aquatic studies and projects. They don’t need a lot of equipment or space, are easy to care for and are fairly inexpensive. They can be found in a lot of different colors and varieties but the most common kind that you will find in most stores is the Veiltail Betta. Some project ideas would be keeping bettas in a few different environments like a brightly lit versus darkened room, under a colored light like blue (“actinic”) light versus a white light, or warmer versus cooler temperatures. How do those changes affect each fish’s growth or coloration? You can take a picture every few days to compare any changes in their color or fins. Does the type of food or the color of the ornaments and backgrounds compared to the fish’s own color make any difference? Try different types or brands of food (flakes, pellets, frozen food, live food, freeze-dried food) to see how each affects the fish’s health.
  • A good way to measure growth is to weigh a specific amount of water in a container without the fish, then weigh the same container with the fish. The difference between the two weights will tell you about how much the fish itself weighs and changes in that weight will tell you if the fish has gained or lost weight.


Fish Food Nutritional Comparison

Aquatic Science Fair Projects and Fish Food Nutrition

Color-enhancing flake food like this is a common aquarium food.


  • Anyone who has gone shopping for food for their aquarium knows how many choices there are for your fish. Flakes, pellets, frozen, freeze-dried, live, color-enhancing, vitamin-enhanced…the choices can be overwhelming. At the time that I write this, we have over 400 different fish food items on our website alone! For a science fair project, you can compare several of these foods and see how your fish react; feed the same kind of fish in separate but identical environments the same amount of different types or brands of food at the same time of day and measure how this impacts their growth, health and behavior. Maybe one kind of food is advertised as color-enhancing or another has a different primary ingredient…does one kind give the fish brighter colors or make them grow more during the time frame of the experiment? The fish should all be in separate aquariums to make sure they are only eating “their” food but you can otherwise use any fish – goldfish, bettas, livebearers like mollies or guppies. You can use the same method as above to record their growth.


The Nitrogen Cycle and Aquatic Science Fair Projects

The Nitrogen Cycle

The Nitrogen Cycle and “Cycling” a New Aquarium

  • The Nitrogen Cycle is a process that every aquarium and contained body of water will go through as the helpful bacteria populations that take care of fish waste will go through. Every aquarist has seen this happen whether they realize it or not. As the first living critters in a tank produce waste or leftover food or other material decomposes in the tank, a bacteria known as Nitrosomonas change that waste from ammonia (NH3) to nitrite (NO2). Another population known as Nitrobacter will change that Nitrite into Nitrate (NO3), the end product of the cycle which is usually removed by water changes or plants that use it to grow like fertilizer. If the levels of Ammonia, Nitrite and Nitrate could be put on a graph throughout the process, they should look like three hills with their peaks coming one after another. Can you set up and “cycle” a new aquarium and use test kits to record these values at a specific interval (every 5 hours, for example) and see if you can recreate this cycle? Does the number of fish change the levels or speed throughout this cycle? What about if the tank is cycled with a dead “waste” like leftover food instead of live fish?
  • A project like this does use chemical test kits. The kits available from pet stores for aquariums are easy to use, but adult supervision should always be used around chemicals like these.


Fish Tricks

  • Did you know fish can learn? Fish like goldfish have been “trained” to recognize objects and do all sorts of tricks like swimming through hoops or under limbo bars. There have even been “soccer matches” between saltwater fish to celebrate the World Cup. Training fish, like most animals, is all about positive reinforcement. Some companies have even made training kits just for teaching fish. Some experiments have trained fish to recognize certain colors by putting food in cups of one color (like red) but not others (like blue and yellow). Once the fish begins to associate the red cup with food, does putting a red ornament in the tank or red background on part of the tank make them choose that over the blue or yellow? How long does it take, and does any kind of fish learn faster than others? You can try putting one fish through its paces or train a few fish to compare their learning styles.
  • Check out this video from Rochester Institute of Technology’s Professor Caroline DeLong to see how she taught a goldfish to recognize shapes


Hatching Brine Shrimp and Aquatic Science Fair Project Ideas

Brine Shrimp Hatchery Kit

Hatching Brine Shrimp

  • Brine Shrimp are popular as fish food in aquariums as well as in the wild, and there was a time that “Sea Monkeys” were popular as “pets”. Hatching brine shrimp can be an interesting endeavor. They can be easy to grow but need just the right salinity (salt level) and the newly-hatched shrimp will need equally tiny food. The baby brine shrimp also show a behavior known as “phototaxis”, meaning they are attracted to light. Brine shrimp eggs are inexpensive and can be purchased in their dry “cyst” form where they will hatch once back in the right water. Experiment with salt levels, food like phytoplankton and with light and see what factors make for the best hatches. Once the shrimp are hatched, they can grow to almost a half inch in length and make great fish food!


This is just a sampling of some concepts that aquarists face every day and there are a lot more out there like overfeeding, breeding and genetics in fish like guppies or mollies, water changes and water chemistry…the possibilities are endless! Popular aquarium fish are even ending up in important medical research. Have we given you any ideas for your next science fair project or laboratory experiment? What would you like to learn more about, and what are some of your favorite projects? Share your results and experiences with us…we’d love to see the results of your studies!

Aquarium Decoration Ideas – Fish Bowl Designs & DIY

Our first blog on Do-It-Yourself aquarium decoration ideas seemed to get so many creative juices flowing that we’re back with some more ideas, tips and examples. In the first blog, we covered some general ideas for how to look at different objects as possible aquarium decorations. This time, we’re going to get more specific based on some of the most common questions from your fellow hobbyists. I created a few different looks after raiding my kitchen cabinets for inspiration using a 2-gallon glass aquarium and a 1-gallon glass bowl but you can adapt the same ideas to aquariums of any size.

Hershey Bears Betta Bowl

Hershey Bears Fish BowlI’m personally a huge hockey fan and have done an NHL Philadelphia Flyers-themed betta in the past using gravel and a plant in their colors. For this one, I kept it pretty simple and used a glass pint glass I had for our local AHL team and my personal favorite, the Hershey Bears, as well as some plant substrate in different shades of brown. Since the logo on the glass is pretty solid, I left the glass empty except for some substrate in the bottom. The glass is sitting on the bottom of the bowl itself and I added the substrate around it to keep it in place. Read More »

Actinic Light vs. Blacklight – Highlighting Fluorescent Livestock and Decor

Glo tetrasWith the growing popularity and availability of fish like GloFish and GloTetras and decorations like our own Pure Aquatic Glow Elements line, “glow-in-the-dark” and fluorescent aquariums are becoming more and more common. Most of these animals and decorations are brightly colored in any light but under special lighting, the colors will really glow. There are two main kinds of light that are used in these aquariums: “blacklights” and actinic lights. Knowing the difference between these two can play an important role in making your tank really stand out, as well as in keeping it healthy. For this blog, we will be focusing in general terms only for community aquariums. Aquarium with invertebrates and corals will have different needs since their light requirements are much more specific and extensive.

First, the science…

The colors we see around us come from the light’s wavelength, measured in Terahertz (THz) or nanometers (nm). Most people can see light ranging from about 700nm (reds) to about 400nm (purples). Blacklights and actinic lights both produce light from the bottom of the visible light spectrum (the BIV in ROY G BIV). Most actinic lighting for aquariums has a wavelength of about 420-460nm. The higher end of this range (460nm) produces a more blue color light, while the color shifts to purple approaching the lower end (420nm). This type of lighting is still well within what we are capable of seeing. “Blacklights” emit a light below what we as humans are able to see known as ultraviolet or UV light. Yes, this is the same UV light that we wear sunscreen to protect ourselves against! UV lighting is separated into three major ranges. Blacklight bulbs are UV-A bulbs (315-400nm), the spectrum which causes our skin to tan. For comparison, the UV Sterilizers popular in aquariums for eliminating algae, diseases and parasites are UV-C bulbs (200-280 nm), a destructive spectrum that is mostly filtered out by Earth’s atmosphere and the UV-B range in between is the more damaging rays from the sun that causes sunburn and other harmful conditions. Read More »