Home | Author Archives: Eileen Daub (page 4)

Author Archives: Eileen Daub

Feed Subscription
avatar
Marine Biologist/Aquatic Husbandry Manager I was one of those kids who said "I want to be a marine biologist when I grow up!"....except then I actually became one. After a brief time at the United States Coast Guard Academy, I graduated from Coastal Carolina University in Myrtle Beach, South Carolina in 2004. Since then, I've been a marine biologist at That Fish Place - That Pet Place, along with a Fish Room supervisor, copywriter, livestock inventory controller, livestock mail-order supervisor and other duties here and there. I also spent eight seasons as a professional actress with the Pennsylvania Renaissance Faire and in other local roles. If that isn't bad enough, I'm a proud Crazy Hockey Fan (go Flyers and go Hershey Bears!).

Other posts by

Live Feeders: Gut Loading for Aquarium Predators

Live foods are popular for larger predatory fish and even some inverts, and some new or finicky animals may not eat anything else. Unfortunately, they aren’t always the most nutritious in an aquarium setting. It is much easier to get a larger variety out of frozen or prepared foods or enhance them with additives, so how can you make the most out of live foods if it is your only option?

seahorse_orange

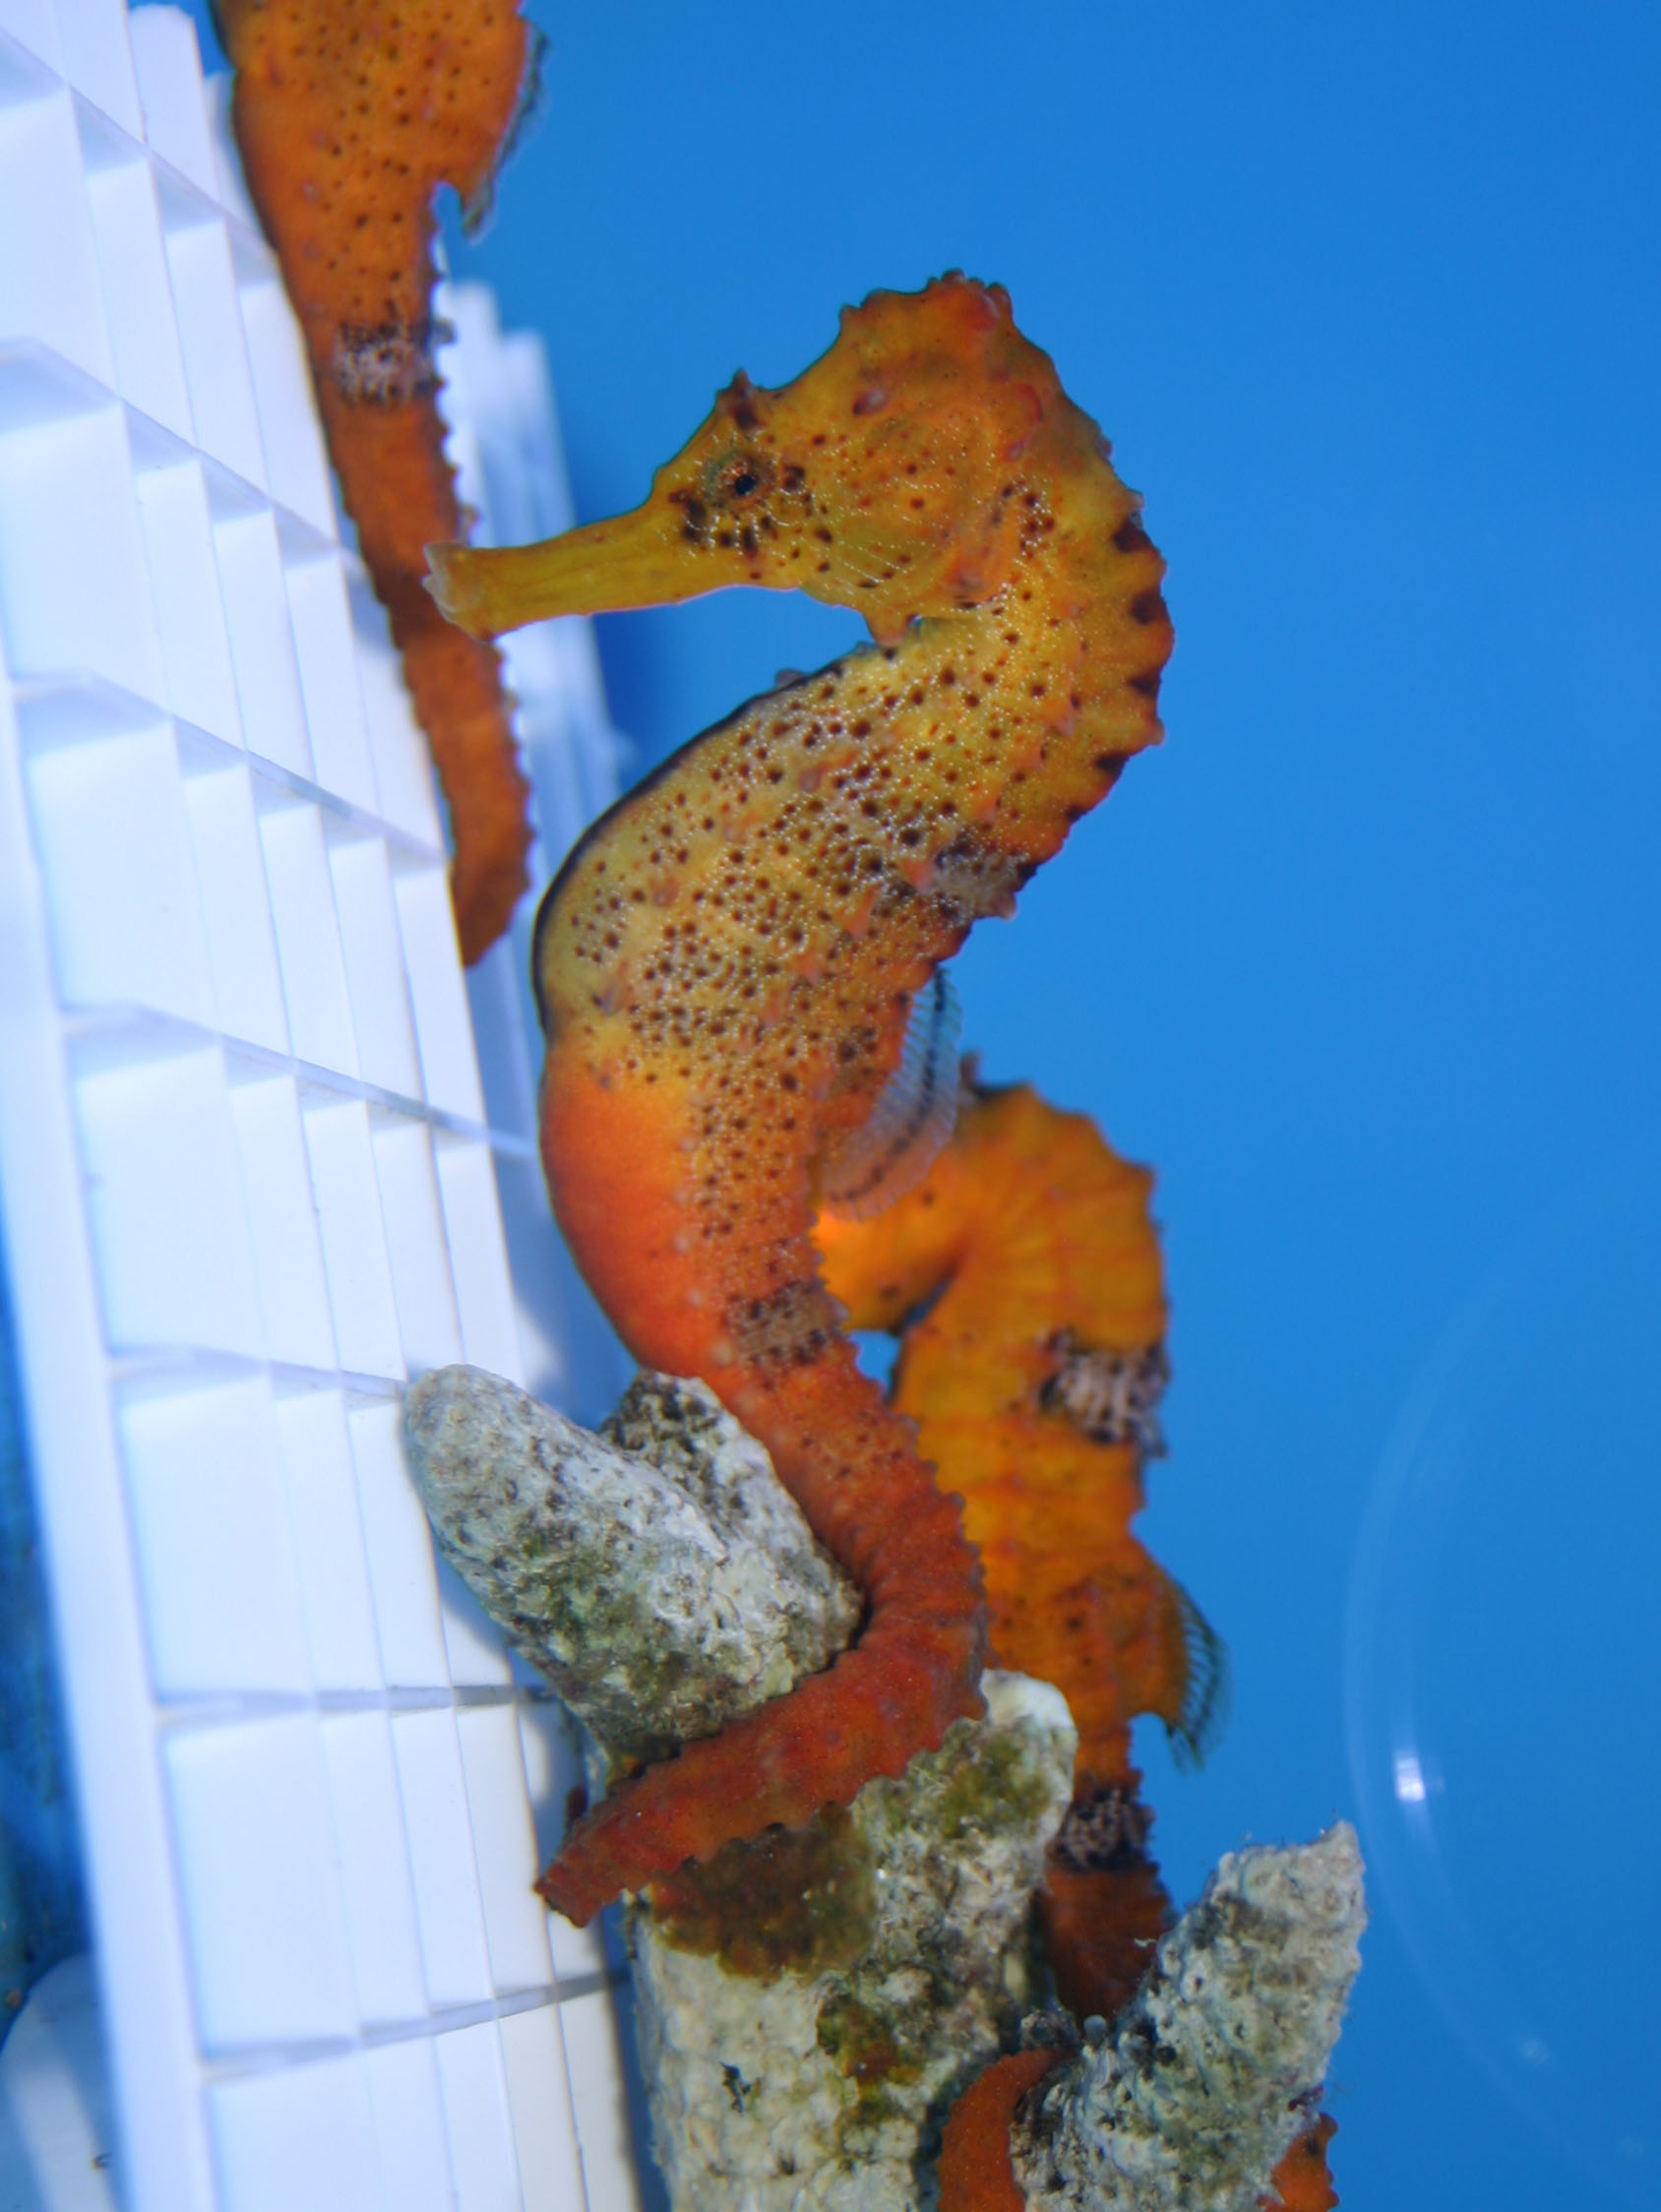
Picky fish like seahorses can be tricky to feed

You are what you eat”…and so are your fish

The problem with feeding most live foods is a lack of variety or nutritional content. Common live feeders like ghost shrimp or guppies just don’t have a lot to them and feeders aren’t usually raised or bred with as much care as animals intended to be ornamental. Much of the most nutritious foods in nature are also some of the smallest – microfauna like copepods and the bright red Cyclops, for example – but these critters are far too small for something like the finicky frogfish or lionfish or sharks that may need live foods and they just aren’t practical to raise.

So, instead of feeding that tiny food to the bigger predators, feed it to the food! This method is known as “gut loading” and is commonly used when feeding crickets to reptiles or amphibians but has a lot of practical use for aquarium hobbyists as well. The principle of gut loading is to feed nutritious food to the live feeder, then feeding that live feeder to its predator while the nutrients are in its system. This is making a process known as bioaccumulation work for us instead of against us like we see in effects like the ciguatera poisoning we discussed in the past.

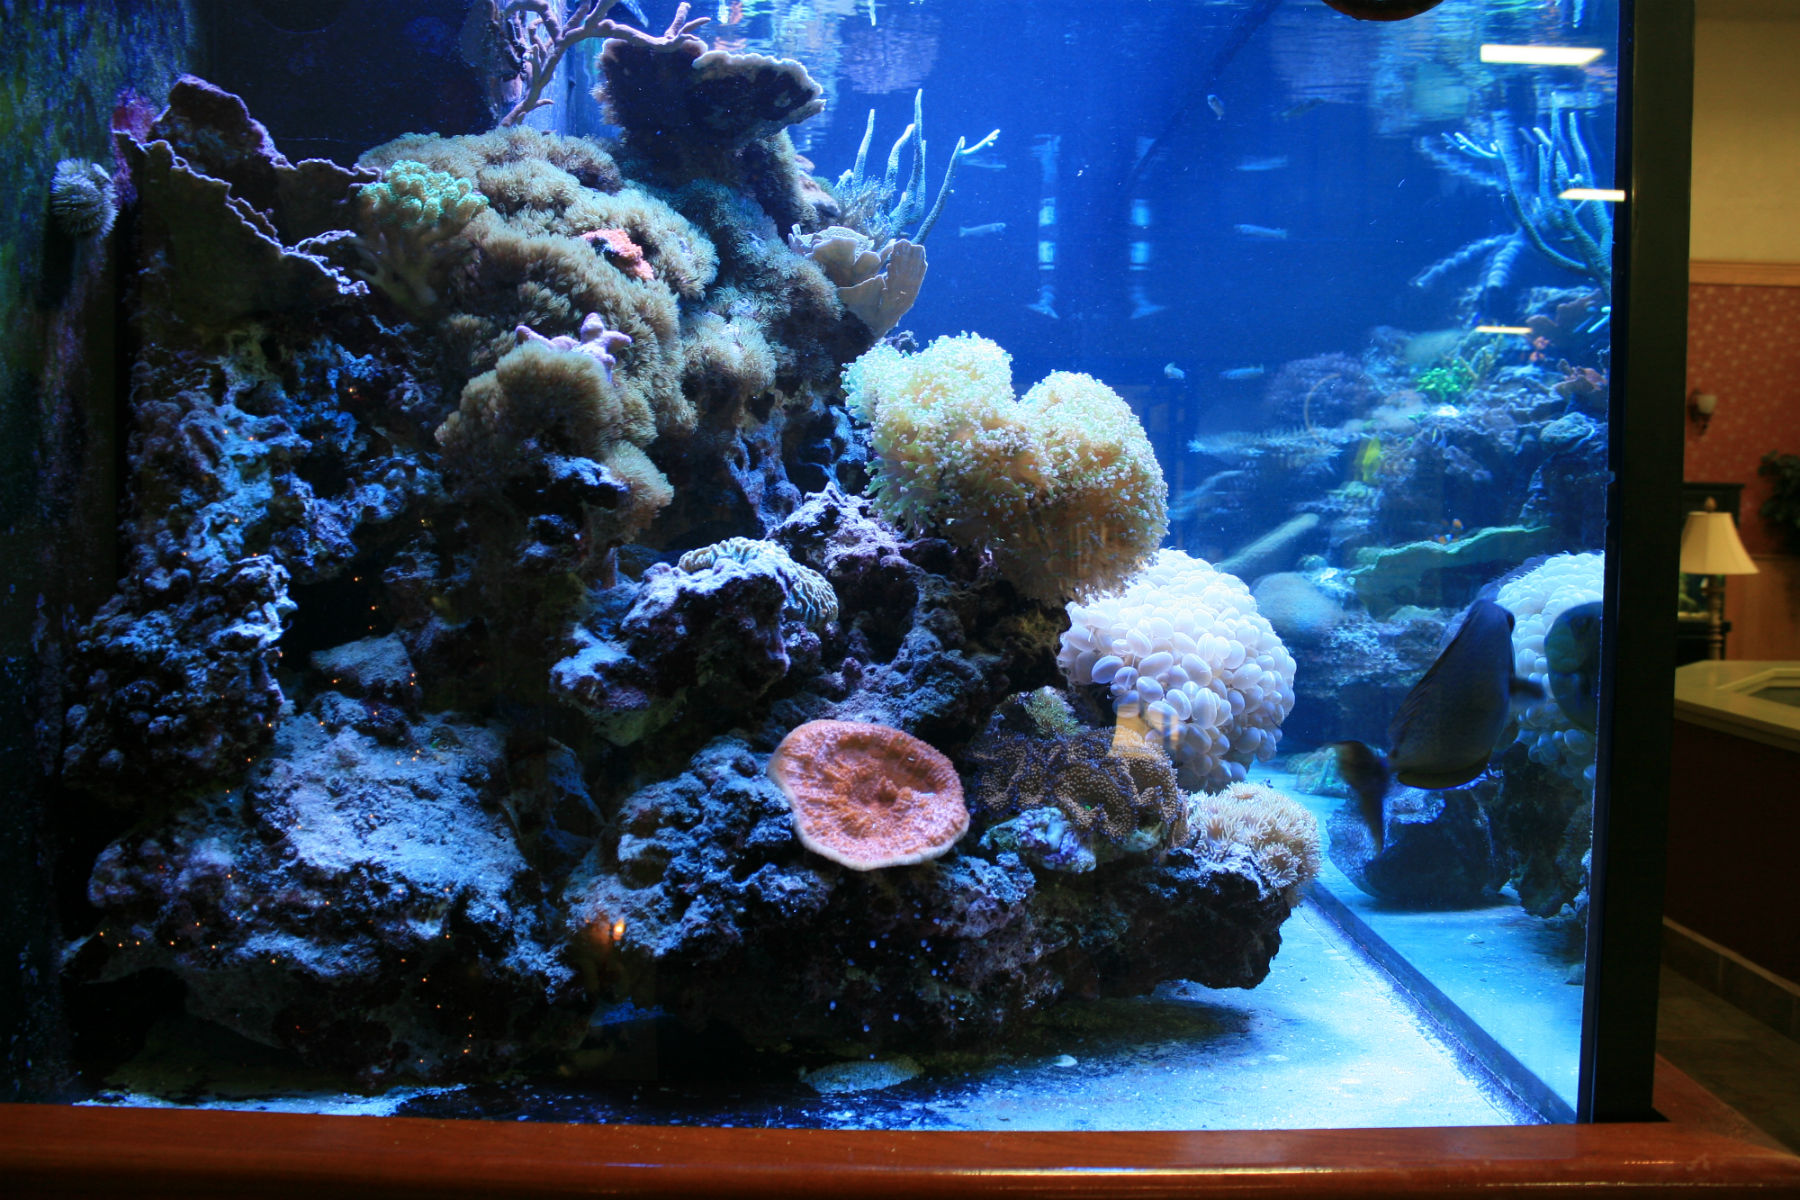
For example, many planktonic foods are very nutritious but too small for a fish like a frogfish. Frogfish will often hunt down and eat ghost shrimp which are very common (but not especially nutritious) feeder shrimp. So, if we feed the plankton to the ghost shrimp, then feed the ghost shrimp to the frogfish, the frogfish eats the plankton.

Gut Loading:  How to pack it in

p53494

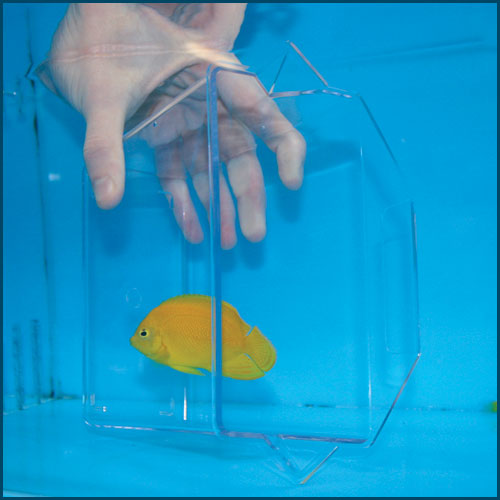
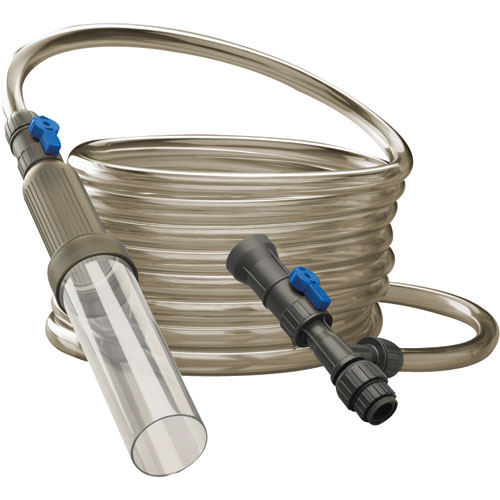
Specimen containers make ideal holding areas for gut loading

With a name like “gut loading”, images of stuffing a guppy like a Thanksgiving Day turkey may come to mind but in reality, its much easier. Just feed the live feeder before it becomes food. For smaller feeders like guppies, ghost shrimp, or even crickets or mealworms, it is usually easiest to put the feeder in a smaller separate container from wherever it is being housed. In our store, we will put ghost shrimp in one of the small specimen containers we use in catching your fish. This keeps the system where the rest of the feeders are being kept cleaner and concentrates the nutritious foods you are using for the gut loading to where the feeders are sure to find it. Then, let the feeders feed. For transparent feeders like ghost shrimp, it is easy to see when their guts are full of the food you are using. For others, monitor how much they are eating. Usually anywhere from 15 to 45 minutes is plenty of time; after all, we don’t need the feeder to digest the food, just get it into their guts. Once they’ve eaten their fill, off to become a meal they go!

p53357

Cyclops are tiny, nutritious crustaceans perfect for gut loading

Depending on the predator you are trying to feed in the end, you can gut load with zooplankton like Cyclop-eeze, phytoplankton like Spirulina, nutritional supplements like garlic or vitamins or even some medications (best with the fish only and not inverts). The foods you are using for the gut loading can be fresh, frozen, freeze-dried, flakes or in a liquid suspension. Experiment and see what works best for your predators or give them a nutritious snack as a treat!

Aquarium 101: Starting a Siphon for Water Changes and Acclimation

Starting a siphon to move water from one container to another is a basic function in aquarium-keeping. Among other random uses, we use it in water changes, emptying or filling an aquarium, acclimating new livestock, and making filters work correctly. Since it is something that we use so often – especially in a retail environment like That Fish Place, it can be one of those actions that we take for granted and just assume everyone knows how to do but everyone has to be taught before they know, right? So here are some tips and tricks to have you siphoning like a pro in no time.


siphon principle

Uploaded to Wikipedia Commons by user Tomia

How it works

Before we discuss how to do it, it helps to know what is happening. A siphon uses a vacuum inside of the tubing to move liquid in a way the same as using a straw to drink. When you use a straw, you suck on the end to remove the air from the tube. As the air is removed, there is a vacuum inside of the straw and the liquid in the cup moves up to fill the space. If there is a hole or crack in the straw or if your mouth isn’t completely sealed around the end of the straw, it won’t work.

Instead of moving the water up a straw, a siphon uses gravity to move water  from a container at a higher elevation down into a waiting lower-level bucket or other container. When a vacuum like the straw is created in the tubing, the water rushes in to fill it and gravity keeps it going into the lower container until both are even or the siphon is “broken” by allowing air to get into the tube (usually just by removing the higher end from the water). It is creating that vacuum that can be the tricky part for aquarists.


  • Method 1: By mouth
  • I’m going to get this one out of the way because it is the most common but also the least adviseable. Its easy, its quick, we’ve all done it…and most of us have ended up with a mouthful of aquarium water in the process at some point. This isn’t the safest method and is why every gas pump you use will have big “do not siphon by mouth” warnings on them. In this method, the higher end (End A for the rest of this blog and the left side of the graphic above) is put into the aquarium and the lower end (End B and the right side of the graphic) is held below the level of End A. You would then put your mouth over End B, suck on it like a straw under the water starts flowing and release it into the bucket before getting a mouthful of it. There is a risk of getting anything left in the tube in your mouth as well as anything in your aquarium water; DO NOT use this method if you have medicated or used any other chemicals in your aquarium!!


  • Method 2: SubmersionSubmersion
  • In this method, we start off with the air removed from the tube by completely submerging the tube in the aquarium first. Once all the air is out, plug both ends with your hand or a finger and remove End B from the water. Once End B is lower than End A and over your second container, let go of both ends. The tube would then empty into the bucket and start the siphon from the aquarium. Alternatively, you can also fill the tube with water first if you can’t fit it safely into the aquarium to submerge it; just hold the ends closed until you have them in place. This method tends to work better with slightly larger tubing (0.5” diameter or more) rather than thin airline tubing like those used for acclimation.


  • Method 3: Power-startingPower starting
  • Instead of drawing the air out through End B, this method forces it out from End A. If you have a powerhead or pump in the aquarium or a powerful output into the tank, you can use that to start the siphon. Hold End A up to this source and seal it as tightly as possibly with your hand until the water is coming out of the other end of the tubing. When you remove End A then (and get it in the water immediately without allowing any air in, if it is above the surface), you should have a good siphon going. Again, this tends to be more effective with larger-diameter tubing than the thin stuff. Some companies also make gravel vacuums that fasten directly to a faucet and use a similar method of starting the siphon “automatically”.


  • Method 4: Siphon “Starters”

Syringe

  • Some gravel vacuums have starter bulbs built into them for this but if yours doesn’t, you can create your own. The built-in starter bulbs would act like your mouth and lungs in Method 1 by sucking the air out of the tube to start the siphon. For thin-diameter tubing like the airline tubing used for acclimation, you can use a syringe plunger like the ones that come with most test kits as a starter. With End A in the aquarium, put the tip of the depressed plunger into End B, then draw out the stopper. This sucks the air out of the tube and starts the siphon for you. While this one isn’t as effective for the bigger diameter tubing, you can try larger syringes,  turkey basters, or irrigation bulbs from the health and first aid aisle at the drug store for this purpose.


The Breaking Point

To end your siphon, just take End A out of the water, raise End B higher than End A or allow air to get into the tube and it will be “broken”. Alternatively, if your siphon stops, check to see if any of those things have happened or if something is clogging up your tube. If you do notice that your gravel vacuum keeps getting clogged where the wider vacuum attaches to the more narrow tubing, just tilt it a bit more or tap it lightly and the heavier gravel should fall. If you are using your siphon to acclimate your new livestock, you can tie a loose knot in the end of the tubing or add a small valve to help control the flow once you’ve gotten your siphon started. If you have any questions or problems starting your siphon, or if you have a method that I haven’t mentioned, let us know!

Aquarium Gravel and Substrate vs Bare-Bottom tanks: Pros and Cons

One of the first purchases most aquarists will make for a new aquarium, be it freshwater, saltwater, reef, discus, goldfish, cichlid or any other – is the gravel and substrate. It could be sand, crushed coral, Fluorite, neon pink pebbles, glass marbles or countless other materials  but it all tends to be the very first thing to go into an empty aquariums. But….why? Do you really need it? Are there alternatives? Much like the eternal home decorating debate of hardwood-versus-carpets, the battle brews among aquarists over what covers the bottom of their aquariums, a layer of substrate or nothing at all.


So why has substrate become such an integral part of the aquarium culture, and why are some aquarists now looking past it in favor of the bare glass or acrylic bottom of their aquariums? Much of it has to do with our understanding of the aquarium ecosystem now over what we knew years or even decades ago. Even as recently as five or ten years ago, undergravel filters were thought as indispensable for all types of aquariums and as such, gravel was thought vital to their function. We’ve come a long way with filtration technology since then, and we’ve also come a long way with understanding how the water chemistry in our aquariums functions. Alternatives and advancements have made the old undergravel systems nearly obsolete and the aquarium gravel that went on top of them is become more of an Option instead of a Requirement.


That said, how do you make the choice? Like so many other parts of our hobby, it comes down to personal preference and your goals. Bare-bottom tanks are becoming more common and have their benefits of substrated tank and vice versa; substrate is still a better choice than going bare for some other types of tanks. Weigh your options carefully before you choose which one is right for you. We’ll go over a head-to-head comparison in the major factors to consider to help you make your decision.

Cleaning a Fish Tank


The ever-iconic Gravel Vacuum

The ever-iconic Gravel Vacuum

An aquarium that is easy to clean and easy to care for is the dream of most aquarists. Bare-bottom tanks win this category easily. Ever wrestle with starting the siphon on a gravel vacuum, then have it clog up repeatedly with gravel when you are cleaning? With a bare-bottom tank, a gravel vacuum isn’t needed; you can just use tubing to vacuum up any waste sitting on the bottom of the tank and water pumps or powerheads can be used to circulate the water underneath and behind the rockwork more efficiently. It can be a lot easier to scrub algae off of the glass bottom and sides without having to worry about missing some at the gravel line or getting bits of sand stuck in your scrubber as well. For tanks like reef aquariums with lots of rockwork, debris and detritus can get stuck under the rocks or in the back where your vacuum cant reach as well, causing the nitrate levels and algae blooms to increase. While not as vital in, say, a freshwater community tank, nitrate and algae can spell Doom (and Headaches) in a reef tank.


Aesthetics & Natural Environments


IMG_4312

A natural planted freshwater nano-tank

I have to give this one to Substrate. Surprisingly, flat panes of glass or acrylics just aren’t found at the bottom of most environments in the wild. Natural environments have sand, or mud, or pebbles or some other natural material. Besides just plain looking more natural, some animals also need this substrate to live normal lives. Some fish and snails bury themselves in it or find their food in it. Timid animals need it to hide or camoflauge themselves and in some specialized ecosystems, the substrate plays a vital role in the water chemistry. Most live aquarium plants won’t survive without a substrate to root into. Having a substrate also provides many more options in changing the look of the aquarium, whether its a natural substrate or a decorative one.


Aquarium Water Chemistry


This one is an even draw; both having substrate or having a bare-bottom can negatively and positively affect the water chemistry in an aquarium. Some substrates like crushed coral can buffer the pH and hardness of the water. For a saltwater tank with a target pH around 8.0-8.4, this is a good things. For a tropical tank with a target pH around 6.0-7.0, maybe not so much. A Flouorite substrate for planted freshwater tanks can give the plants some much-needed minerals and nutrients through their roots that a bare-bottomed tank can’t give them.


As much as this exchange helps, any waste that can get trapped in the substrate can hurt the tank. If waste becomes trapped, it will decompose and increase nitrate, phosphates, ammonia and other negative levels which can lead to fish illness and algae blooms. As we mentioned before, this waste is much easier to get rid of in a bare-bottomed tank.


Microinverts, hitckhikers and other “bonus” tankmates


IMG_2091

Our bare-bottomed 700 gallon store display tank

Unexpected new arrivals like bristleworms can be the ban of a saltwater aquarist’s existance, and tiny little nuisance snails or flatworms can harass a freshwater aquarists to tears. Most of these critters live or reproduce to some extent within the substrate and getting rid of the substrate to go bare-bottom will help get rid of them. Unfortunately, it will also get rid of the good critters like copepods and amphipods that can provide a natural food source to some of the pickiest fish and inverts. If you are making your choice to go bare-bottom to get rid of the nuisance critters, weigh the needs of the rest of your tank carefully to see if they can do without the good to get rid of the bad.


The (Bare-)Bottom Line


Choosing whether to add substrate to your aquarium or stick with the bare tank ultimately rests on you. Most aquariums will survive either way but one choice may be more successful than others. In our store, we have both bare-bottom tanks and tanks with substrate among our display tanks as well as the tanks we sell fish out of. Stocking these tanks is determined by the needs of the fish and the care that they need. Generally, coral-only reef tanks can go bare, planted freshwater tanks can’t; freshwater fish-only tanks might not need it but saltwater fish-only tanks (or fish-only with live rock) will do better with it. If you can’t decide which way will be more successful for you, we’d be happy to help you make the best decision for you and the success of your aquarium.

Why is My Aquarium Water Cloudy?

We often receive questions about fixing cloudy water in a hobbyist’s aquarium or the water appearing to turn a different color. While not all environments have crystal-clear water and a slight tint to your tank isn’t necessarily a bad thing, water that is noticeably “tinted” or cloudy can be a symptom of an underlying issue in your aquarium. The color of the water can tend to point to a certain problem even if you haven’t yet tested the water quality. In fact, it may even be telling you what exactly you should test for next!

Why is my aquarium water green?

Planted TankThis is probably the most common and the simplest to diagnose. More often than not, green water is the sign of an algae bloom. Algae-eating fish or other critters won’t usually eat this type of algae. The algae, usually a single-celled form, is suspended in the water. The most common cause I see for these blooms in aquariums especially is high phosphate levels and this will be the first test I will always recommend. Phosphates come into the tank most often from the source water; if your water source is well water especially, phosphates may have leeched in through the soil or through nearby farms or gardens where fertilizers may have entered the groundwater. The phosphate levels may not be high enough to affect our health but in the aquarium, they can build up to levels where they are fertilizing the algae blooms and possibly causing other issues to sensitive fish and invertebrates. If you suspect this may be happening in your aquarium, grab a phosphate test kit to test both the aquarium and your source water. If the source water has phosphates, switch to a different source like RO (Reverse Osmosis) filtered water. Filter media can also help remove the phosphates already in the aquarium and regular small frequent water changes with phosphate-free water will help cut them down.

Another cause for green water may be lighting although this will affect algae on the surfaces of the aquarium as well as the water itself. If the lights on the aquarium are on for too long (over about 8-10 hours per day), this may be overfeeding the algae naturally in the water. Also, if the bulbs are older than about 6-8 months, the spectrum (“color”) of the light itself will degrade to a more yellowish color that isn’t as useful to healthy plants but will still feed the nuisance algae. Try decreasing the duration of the lights or getting new bulbs if either of those apply. If the bloom still hasn’t gotten better, test the phosphate!

Why is my aquarium water cloudy?

This is the other very common colored-water question. Usually, the water is white and milky. Whenever we hear this, the next question will always be “How long has this tank been set up with fish?” or “Have you restarted this tank lately (removed more than a third to a half of the water)?” A milky white cloudy water color to the water is a sign of a bacteria bloom which usually happens during the Nitrogen Cycle Cycling Process of a new tank or if a tank is becoming reestablished after a large water change, medication cycle or other event. This cloudiness will usually clear up on its own; try to resist the urge to do water changes since this will only make the Cycle last longer and take longer for the bacteria population that needs to grow to take care of this on its own. You can test the water during this time to make sure everything else is normal, keeping in mind that while a tank is Cycling, you may see spikes in Ammonia and Nitrite.

Why is my aquarium water yellow?

Yellowish water is usually simply dirty. This is usually a result of overcrowding or overfeeding and may also be a sign of harmfully high Ammonia and/or Nitrite levels. Test the water to see if this is the case and take a good look at the stocking levels of your tank compared to its size and filtration. If you have four goldfish in a 10 gallon aquarium, it is overcrowded and the waste they produce is polluting the water. If you have two large Oscars in a 55-gallon tank with one small power filter, it is overcrowded and underfiltered. Take a look at your feeding routine too; you may be feeding the tank more than it needs and the leftover food (or the waste the fish produce after pigging out) could be fouling up the water. To fix this cloudiness, consider getting a large tank or cutting back on the fish you have in it, invest in a larger, more powerful filter, and consider if you need to feed the fish less. A filter media with carbon or another chemical neutralizer can help remove the organics that are polluting the water as well.

Why is my aquarium water brown?

This one straddles a fine line. There are some environments known as “blackwater” systems where this is actually a good thing and completely natural. These environments are usually in forested areas without a lot of water flow. The leaves, wood and other organic matter in the water releases a substance known as tannic acid that dyes the water brown…this is the same thing that makes the tea you drink turn brown. Some fish that live in these environments actually need this kind of water chemistry and there are additives and materials available to help aquarists create this kind of system. If you don’t have these fish and don’t want a blackwater tank however, it can be an unsightly nuisance. This usually “accidentally” comes about from driftwood in the aquarium that hasn’t been properly pressure-treated or is too soft and replacing that wood will get rid of the source of the color. Carbon in the filter will help with this as well to remove the color and organics from the water. Keep a careful eye on the pH if you are seeing your water turn this tannic brown to make sure that the acids aren’t lowering your pH too far.

These are the most common questions we get about the color of the water in an aquarium. If you are seeing a different “color” or if the solutions here aren’t resolving the problem in your tank, give us a call or comment below and we’d be happy to help you figure it out!

For additional information – check out this article addressing a specific question from a That Fish Blog reader – Clearing Cloud Water.


Aquarium Decoration Ideas – Fish Bowl Designs & DIY

Our first blog on Do-It-Yourself aquarium decoration ideas seemed to get so many creative juices flowing that we’re back with some more ideas, tips and examples. In the first blog, we covered some general ideas for how to look at different objects as possible aquarium decorations. This time, we’re going to get more specific based on some of the most common questions from your fellow hobbyists. I created a few different looks after raiding my kitchen cabinets for inspiration using a 2-gallon glass aquarium and a 1-gallon glass bowl but you can adapt the same ideas to aquariums of any size.

Hershey Bears Betta Bowl

Hershey Bears Fish BowlI’m personally a huge hockey fan and have done an NHL Philadelphia Flyers-themed betta in the past using gravel and a plant in their colors. For this one, I kept it pretty simple and used a glass pint glass I had for our local AHL team and my personal favorite, the Hershey Bears, as well as some plant substrate in different shades of brown. Since the logo on the glass is pretty solid, I left the glass empty except for some substrate in the bottom. The glass is sitting on the bottom of the bowl itself and I added the substrate around it to keep it in place. Read More »