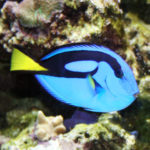
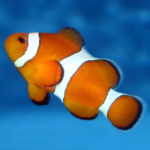
We all know that washing our hands and bodies helps control germs and diseases but what about in our aquariums? Fish and corals may not have hands to wash but we still have a similar option: Dips and Baths. We use these to remove parasites and pests or treat for some conditions and infections. A “dip” – whether it is for fish or corals – involves removing the organism from the aquarium and placing it in a separate container with the dip solution for a short period of time before putting it back into the tank. Similarly, a milder treatment known as a “bath” uses a weaker solution for a longer period of time.
The type of dip or bath that is right for you depends on what you are treating. In this article, we are going to cover the most common dips: Freshwater dips for saltwater fish, dipping corals using Iodine or a commercial coral dip. For information on using dips to remove pests from freshwater aquarium plants, see our article Dipping Plants To Eliminate Snails for the different options available.
Freshwater Dips For Saltwater Fish
Putting a saltwater fish into freshwater may seem like a risky move – and it is if done incorrectly – but when done properly, it can be useful in removing parasites like Flukes and some Protozoans. The keys here are preparation, timing and observation. It isn’t as easy as dropping your clownfish into your goldfish tank! You can use this method for new arrivals before adding them to your tank or to treat fish from a display or quarantine tank.
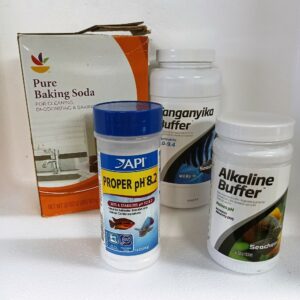 1. Prepare your dip container and water. The container should be clean and free from any detergents or waste and large enough for your fish to swim comfortably. Use clean, dechlorinated freshwater that is the same pH and temperature as your aquarium….this is key! You may need to use a buffer like baking soda or high range buffers for African cichlid tanks to raise the pH to match your aquarium, but make sure it is as close as possible. Adding your saltwater fish to freshwater with a much lower pH (for example, a neutral 7.0 when your aquarium pH is 8.4) is very stressful.
2. Once your water is prepared, carefully move the fish from the aquarium into your dip container. If you are using a net, be especially careful around any fish with spines that may get caught or damaged.
3. Continue to observe your fish in the dip. If you see (or suspect) parasites like Flukes, you can use an eyedropper or turkey baster to gently blast water onto your fish to help knock off any parasites.
4. If you notice any strong signs of stress, remove the fish from the dip and get it back into saltwater right away. Otherwise, a minimum of 5 minutes will help remove most parasites, and most fish can typically tolerate a dip up to about 10 minutes.
5. The dip water can be reused for several dips if you have multiple fish to treat, but dispose of the water after you are finished and rinse your container for next time.
Dipping Corals
Dipping corals can help remove pests and parasites as well as treat a number of infections and conditions. Many brands of coral dip solutions are available on the market and typically use ingredients like botanical oils to kill or dislodge pests from corals. Iodine can also be used in some situations, especially when treating new frags or damaged colonies with tissue that can be vulnerable to infection. When choosing a dip, be sure to read the instructions as some dips can’t be used on some types of corals and concentrations or timing can vary from brand to brand. The instructions here are a basic guideline for most corals and dips.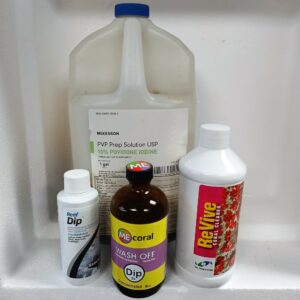
1. Prepare the containers for your dips. These dips should always be done in a separate container but can usually be done with either water from the tank (if you can safely remove enough for the dip) or with freshly prepared saltwater. The container should be big enough to completely cover the corals being dipped but doesn’t need to be larger than necessary to avoid wasting your dip to reach the proper concentration.
- Depending on the dip and concentration you are using or the corals you are dipping, you may want to prepare a second container to “rinse” your corals after the dip. This should be about the same size and amount of water and can also be either tank water or fresh saltwater.
2. Add your dip solution to the water before adding the coral. This makes it easier to mix the solution throughout the dip container without dumping it directly onto the coral. Most dips have recommended concentrations like 1 teaspoon per gallon of water but can usually be adjusted depending on the coral; use a weaker solution for more sensitive or stressed corals or stronger solution for resistant pests or very hardy corals.
- For Iodine dips, you can use the color to determine the strength. On a white background, a weak Iodine solution should be about the pale tan of a manila envelope. A strong Iodine dip would be a rusty red-brown but the corals should still be visible. Avoid a concentration so strong that you can’t see through it.
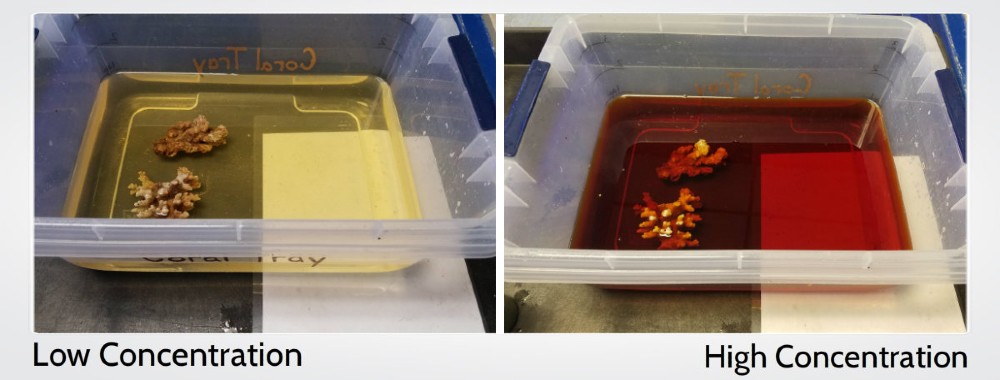
Iodine Dip Concentrations
3. Add the coral to the dip and follow the instructions on your dip. Most corals can be dipped for 5-10 minutes but if the coral appears very stressed or starts releasing a lot of slime, remove it from the dip. Hardy corals like polyps or milder solutions may be dipped for longer.
4. After the dip, rinse your coral in the dip by gently “swishing” it around underwater. If you prepared a rinse container, you can do the same in this container as well. This is especially useful after strong Iodine dips or with especially mucus-y corals.
5. Replace your corals back into the tank and dispose of your dip and rinse containers….don’t add this water back into your tank!
When done properly, these dip methods can help keep your tank parasite- and pest-free without the need to medicate the entire tank, or to supplement a medication regime. Feel free to contact us if you aren’t sure if a dip is right for you!
 That Fish Blog – Aquarium Advice and Information


