 That Fish Blog – Aquarium Advice and Information

Hiring staff for any job can be tricky. You need to make sure you have the right number of qualified employees to handle the job, not just a lot of employees on your payroll that eat into your bottom line or ignore the job you’ve given them. Choosing a clean-up crew for your saltwater aquarium is similar; you need to make sure you have the right snails and crabs and other cleaners for the tank without too many that can deplete your resources or just not even do the “right” work at all. “How many snails do I need?” is only part of the question; making sure you are getting the ones best suited to the job is just as important.
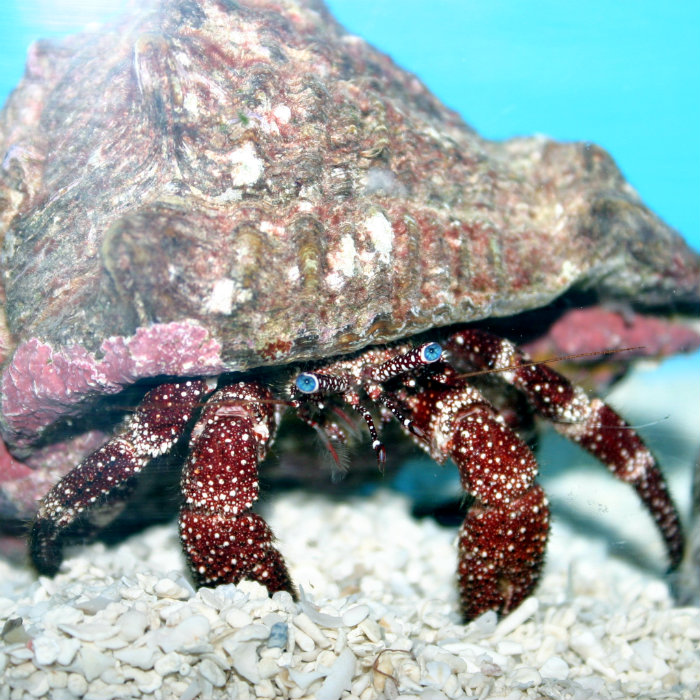
The White-speckled Hermit Crab. Cute, but NOT an algae eater!
Job Description and Qualifications
Hiring an employee without knowing their qualifications or describing the job doesn’t make much sense, whether it is renovations on your home or clean-up within your aquarium. Not all snails eat algae. Not all snails that eat algae eat the same kind of algae. Not all “algae” is even algae at all. And snails may not even be the best (or only) cleaners for the job; “detritivores” that eat the leftover food and waste (“detritus”) are also necessary for keeping a tank clean and healthy. The first step to choosing a clean-up crew is to identify what the problem is that you’d like them to help you solve. Algae is normal in any aquarium and having a basic clean-up and scavenger crew is a good idea but beyond that, if you have a specific problem like a cyanobacteria bloom, hair algae, green water or other issues, you may need a solution beyond a few snails. You may be seeing a symptom of a larger problem like poor water flow or lighting quality and unless that problem is addressed, it will keep coming back no matter how many snails or other clean-up crews you throw at it.
What are the working conditions?
It takes a different kind of person to paint the walls of a house than it does to paint the cables at the top of the Golden Gate Bridge. It also takes a different kind of critter to clean up a nano-reef than it does a rock-filled bare-bottom aquarium or a deep sand bed. Some hermit crabs can have difficulty reaching into small crevices and some snails can’t flip themselves over if they tumble off of the glass or rockwork. Some snails, starfish and other animals popular in aquariums also eat other snails or invertebrates and corals. Are the animals you are choosing suitable for the environment you have?
It’s all in the job security
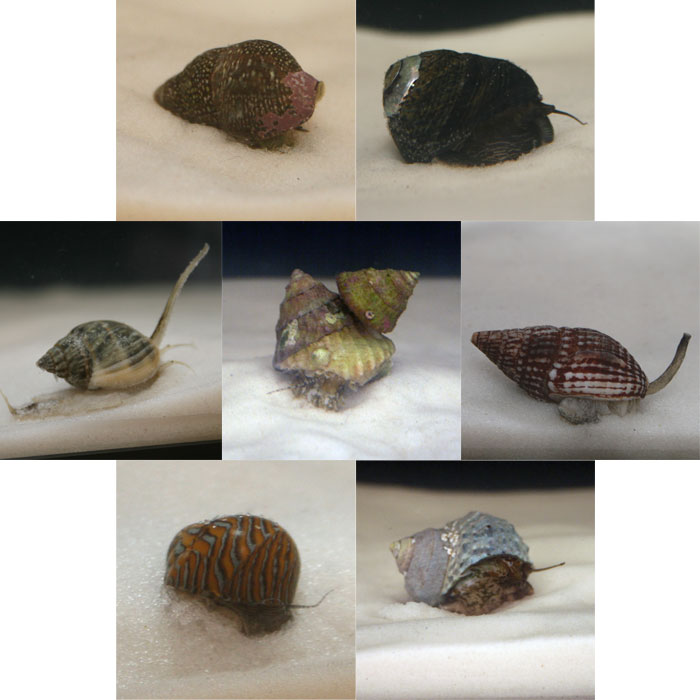
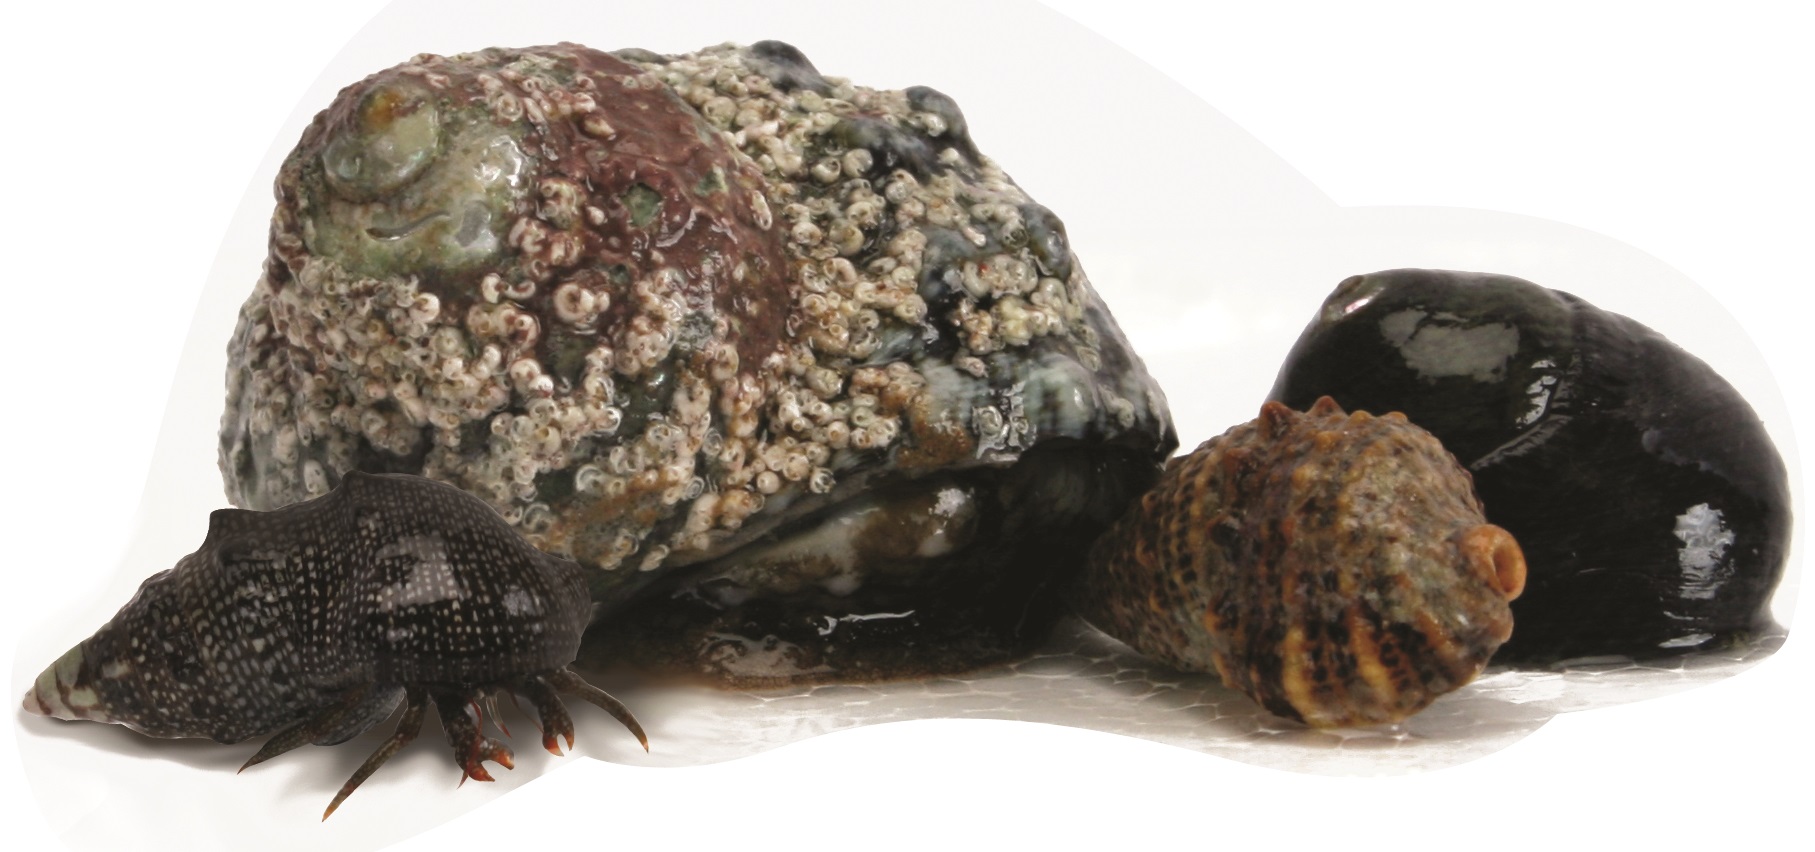
Some of the most popular saltwater clean-up crew snails
Contrary to popular belief, snails and hermit crabs are not disposable or short-lived or robotic lawnmowers that feed on nothing but salt and sunlight. If they have plenty of food and proper care, they can live for a long time. If they run out of the right food, they won’t survive so overloading a tank with cleaners to keep it spotless is only going to end up with losses. When snails and other cleaners die and decompose, they affect water quality. When water quality goes down, algae will bloom. When algae blooms, you’ll need to add more cleaners. Starting to see where this cycle goes wrong? Avoid the urge to overload on a massive cleanup crew and start with a basic foundation. Once you can observe where they need the help, supplement with some helpers for that purpose (like aerating the substrate, cleaning the glass, targeting hair algae or other trouble areas).
The magic number is…
Just like the old “inch-per-gallon” rule that is still floating around for fish, there are some stocking guidelines for clean-up crews. Some of the most common include a snail per gallon or a hermit crab per five gallons but again, this only works if that snail or hermit crab is suitable. To help you out in making some selections, we have basic Algae Packs with recommended tank sizes. You can start with the one closest to your tank size and give it some time. You can always supplement later or get a specialty algae pack to target a specific need like detritus or hair and buble algae. Remember, hiring is always an ongoing process!
You’re hired!